Printing a Single or Multiple Columns
- You have the option to print a single column or multiple columns of the Appointment Book.
- If you choose to print the whole appointment page as it appears on the screen with all columns visible, follow these steps
Printing the Full Appointment Page
- Select the three dots in the lower left-hand corner, then select “Print”.

- You'll be asked if you want to print appointments for all employees. Choose "Yes" to print the entire book or "No" to print for selected employees.
- If printing for selected employees, select the desired employee(s) whose appointments you want to print by selecting their images in the Appointment Book. You will know this has been done successfully when the top row (containing the selected employee’s name) highlights.
- Reselect the “Print” option.
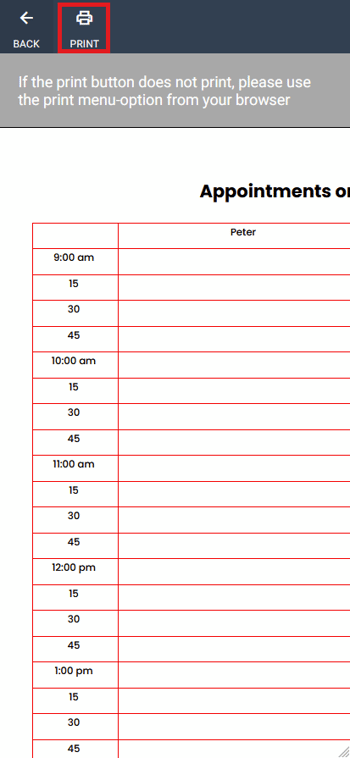
- You will be shown a print preview of the Appointment Book and the columns you have selected.
- Ensure your printer is connected and turned on before printing.
- Select “Print” again.
ℹ️ If the “Print” button does not print, please use the Print menu option from your browser instead.